 St. Petersburg Roofing
 Siding Installation Built for Seminole's Climate
Seminole sits close enough to the Gulf that salt-laden air, wind-driven rain, and hurricane-force gusts are a normal part of the weather cycle rather than a once-a-decade event. Add in the intense, near year-round UV load that Pinellas County homes take on, and you have a combination that is genuinely hard on exterior building materials. Siding that looks fine in a showroom in another part of the country often does not hold up the same way here. When we install siding on a Seminole home, we are installing it against this specific set of conditions, not a generic set of assumptions about "Florida weather."
This page is about one service in one area: professional siding installation for homes in and around Seminole. We will walk through what the local climate actually does to siding over time, what a correct installation involves, how our process works, and why it matters to work with a crew that already understands this part of Pinellas County.
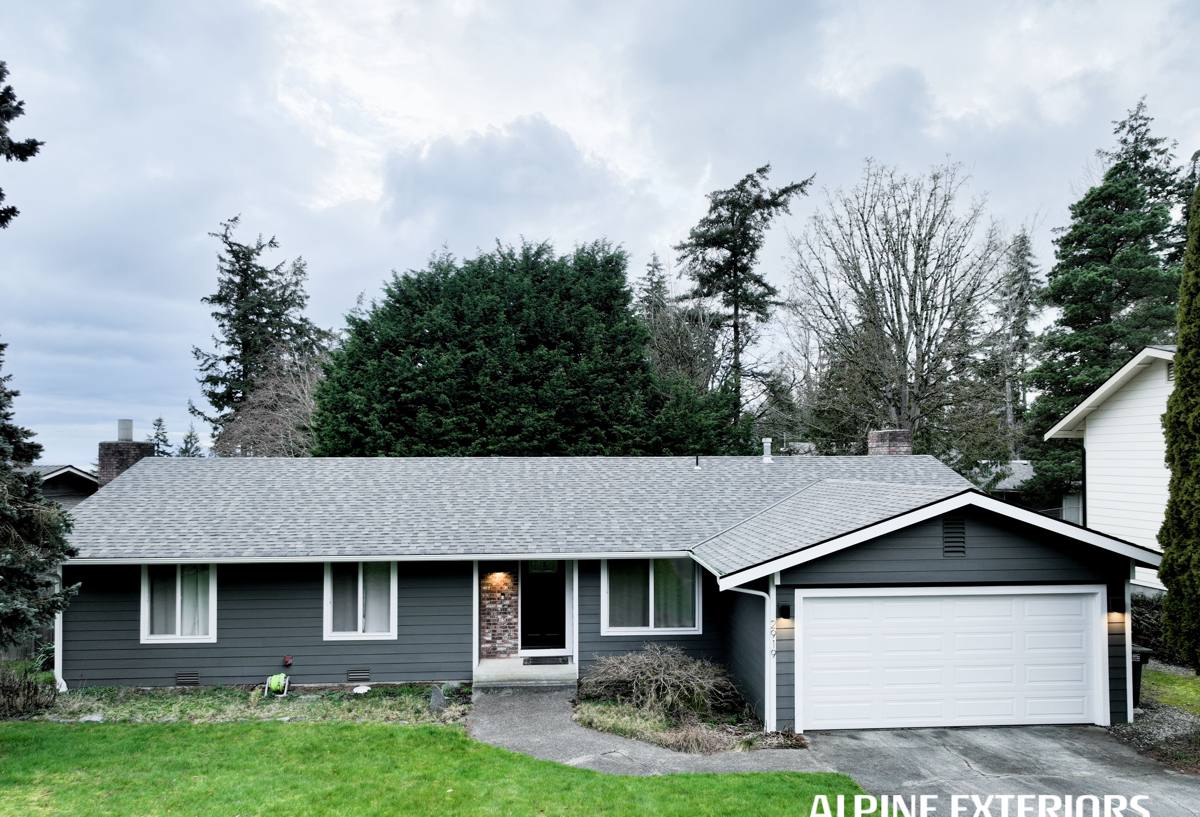
What Seminole's Weather Actually Does to Siding
Sun and UV Exposure
Central Florida gets a heavy, consistent dose of UV exposure across most of the year. On lower-quality siding materials, that sun exposure shows up as fading, chalking, and surface breakdown well before the material has reached the end of its structural life. A homeowner ends up with siding that still "works" but looks tired and dated years ahead of schedule, and repainting an entire elevation is not a small expense.
Wind-Driven Rain
Straight-down rain is easy for most siding systems to shed. Wind-driven rain is a different problem. When rain is being pushed sideways and upward into seams, laps, and penetrations, the water management behind the siding — the house wrap, flashing, and drainage plane — matters as much as the siding material itself. A lot of siding failures we see in this region are not really "siding failures" at all; they are water management failures that happened to show up as damage to the siding.
Hurricane-Force Wind
Pinellas County homes need siding and fastening systems rated and installed to handle sustained high wind and wind-borne debris, not just cosmetic wind resistance. Fastener spacing, fastener type, and how panels are secured at edges and corners all affect whether siding stays put in a real wind event or starts to lift and peel.
Salt Air
Even a few miles inland from the Gulf, salt air accelerates corrosion of fasteners and metal flashing and can degrade lower-grade finishes over time. Materials and hardware need to be chosen with that in mind, not just for a coastal-front lot but for the broader Seminole area generally.
Why We Install Only James Hardie Fiber Cement Siding
We do not install vinyl siding, LP SmartSide, Cemplank, Allura, or primed wood products like spruce or cedar. That is a deliberate standard, not a limitation of what we are capable of installing. Each of those products has legitimate strengths, but each also carries real-world trade-offs — moisture sensitivity, UV-driven fading, seam and expansion behavior, or maintenance burden — that we think matter too much in a climate like this one to put our name behind.
James Hardie fiber cement is non-combustible, dimensionally stable in heat and humidity, and available in climate-engineered HardieZone HZ product lines built specifically for regions like ours. The factory-applied ColorPlus finish is baked on under controlled conditions and backed by a substantial finish warranty, which matters directly for the UV fading problem described above. It is also backed by a strong transferable product warranty when installed to Hardie's specifications — which is the other half of the equation, because even the best siding material fails to perform if it is installed incorrectly.
What Correct Siding Installation Actually Involves
Siding installation is not just fastening boards to a wall. In a climate that combines heavy UV, wind-driven rain, and periodic hurricane wind, the details behind the siding decide whether the job holds up over the long term. A correct installation includes:
- A properly lapped and sealed weather-resistive barrier behind the siding, installed as a complete drainage plane rather than patched around openings
- Correct flashing at every window, door, and roof-to-wall intersection, integrated with the house wrap rather than caulked over it
- Proper clearance between the bottom edge of the siding and grade, roofing, decks, and other horizontal surfaces so water has somewhere to go
- Fastener type, length, and spacing that match Hardie's published specifications for the wind zone the home sits in
- Correct joint treatment and gapping so the siding can handle thermal movement without opening seams over time
- Field-cut edges properly sealed or primed so raw fiber cement isn't left exposed to moisture
Skipping any one of these does not usually cause an immediate, visible problem. It shows up two, five, or ten years later as a leak, a soft spot, or a section of siding that fails well ahead of schedule — and by then it is a much more expensive repair than it would have been to do correctly the first time.
Our Installation Process
1. On-Site Assessment
We start with a walkaround of the home to look at existing siding condition, trim and window details, drainage patterns, and any areas where past water intrusion may already be an issue. This is also where we talk through which Hardie product line fits the home's style and the homeowner's goals.
2. Tear-Off and Substrate Check
Old siding comes off and we inspect the sheathing underneath for rot, soft spots, or prior water damage before anything new goes up. Problems found here get addressed before the new water-resistive barrier goes on — covering up a compromised substrate is not something we do.
3. Water Management Installation
The house wrap, flashing, and drainage details go in as a complete system, with particular attention to windows, doors, and any roof-to-wall transitions, since these are the highest-risk points for wind-driven rain intrusion.
4. Siding Installation
Hardie boards, panels, or shingles go up per manufacturer fastening specifications for our wind zone, with correct joint gapping, flashing integration, and clearances maintained throughout.
5. Trim, Caulking, and Touch-Up
Trim work and factory-matched caulking finish out the job, and any factory finish touch-up is done with Hardie-approved products to keep the ColorPlus warranty intact.
6. Final Walkthrough
We walk the completed job with the homeowner, point out care and maintenance basics, and answer questions before calling the project finished.
James Hardie Product Lines for Seminole Homes
Which Hardie product makes sense depends on the home's architectural style, current siding profile, and budget. The table below is a general comparison to help frame the conversation — final recommendations depend on the specific home.
| Product | Typical Use | Look |
|---|---|---|
| HardiePlank Lap Siding | Most common choice for full re-siding on single-family homes | Traditional horizontal lap, multiple width and texture options |
| HardiePanel Vertical Siding | Accent walls, gables, modern or coastal-style exteriors | Clean vertical panel lines |
| HardieShingle Siding | Accent areas, gables, cottage or craftsman-style homes | Staggered or straight-edge shingle profile |
| HardieTrim Boards | Window and door casing, fascia, corner boards | Clean, paintable trim to match siding profile |
What Affects the Cost of a Siding Project
| Factor | Why It Matters |
|---|---|
| Home size and elevation count | More square footage and more architectural detail (gables, dormers, bump-outs) increase labor and material |
| Current siding removal | Tear-off, disposal, and substrate repair add time compared to installing over new construction sheathing |
| Substrate condition | Rot or water-damaged sheathing found during tear-off needs to be repaired before new siding goes on |
| Product line and profile | Plank width, texture, and any vertical or shingle accent areas affect material cost |
| Trim and detail work | Window casing, corner boards, and fascia work add scope beyond flat wall siding |
We give exact numbers only after seeing the home in person — anyone quoting a firm price over the phone for a full siding project without an on-site assessment is skipping a step that matters.
Why Hiring a Crew That Already Works in Seminole Matters
A siding crew that regularly works Pinellas County homes already knows the local wind zone requirements, understands how to detail flashing for wind-driven rain rather than just vertical rain, and has seen firsthand what happens when installation shortcuts meet a real Gulf-adjacent storm season. That local experience shows up in the small decisions made on every job — how a valley is flashed, how a window head is detailed, how fastener spacing is handled at corners — that don't show up on a spec sheet but decide whether the job holds up.
Before hiring anyone for a siding project in Seminole, it's worth asking a few direct questions:
- Are you a certified or trained installer for the specific siding product you're proposing?
- What water-resistive barrier and flashing details will you use behind the siding?
- What fastener type and spacing will you use, and is it matched to our wind zone?
- Will you inspect and address substrate condition during tear-off, not just cover it?
- What does the manufacturer warranty actually require to stay valid, and will the installation meet those terms?
- Can you provide references from other siding jobs completed in this area?
A contractor who answers these clearly and specifically, without hedging, is one worth taking seriously.
Get a Free, No-Pressure Estimate
If your Seminole home's siding is aging, showing wear from sun and salt air, or you're planning ahead for storm season, we're happy to take a look and walk you through honest options — no pressure, no obligation. Use the form below to request a free estimate.